To send WordPress notifications through SMTP, configure an outgoing server for the site's mail path, supply an authorized sender and verify both a test message and the actual notification you depend on.
PressedMail Free includes one site-wide SMTP server configuration. It is separate from the mailbox you read in the inbox. You can configure WordPress sending without assuming that an existing inbox connection automatically supplies the route.
WordPress's wp_mail function provides the common application entry point. Its official reference explains that successful processing does not confirm recipient receipt. Keep that distinction in mind when evaluating the test result.
Identify the current sending route
Before changing settings, check whether another plugin or hosting integration already handles WordPress mail.
A form plugin may call wp_mail, while another integration may use its own provider API. A global SMTP configuration affects the supported WordPress mail path; it cannot be assumed to control every external sending integration.
Record the existing route and sender settings. If you already have a working configuration, keep enough information to restore it. Use one active owner for the route you are configuring, rather than leaving competing SMTP plugins to change the same message.
The SMTP plugin overlap guide explains how to decide whether an additional sender is necessary.
Obtain an authorized SMTP configuration
Get the hostname, port, encryption mode and authentication details from the sending provider. Confirm which From addresses the account may use.
The provider may be your mailbox host or a service intended for website notifications. Its limits and acceptable use still apply. A personal mailbox plan is not automatically suitable for every store's volume.
Do not use an address you cannot send as merely because it looks appropriate for the website. The visible sender and the account authenticating to SMTP must meet the provider's rules.
IMAP versus SMTP explains why incoming mailbox settings do not establish this outgoing configuration. If your provider requires a sign-in method that the site-wide SMTP form does not support, choose a compatible route rather than assuming mailbox OAuth transfers automatically.
Add the mail server in PressedMail
Open PressedMail's administrator settings and find WordPress Email. This is the site-wide sending area, separate from a user's personal Email Connections.
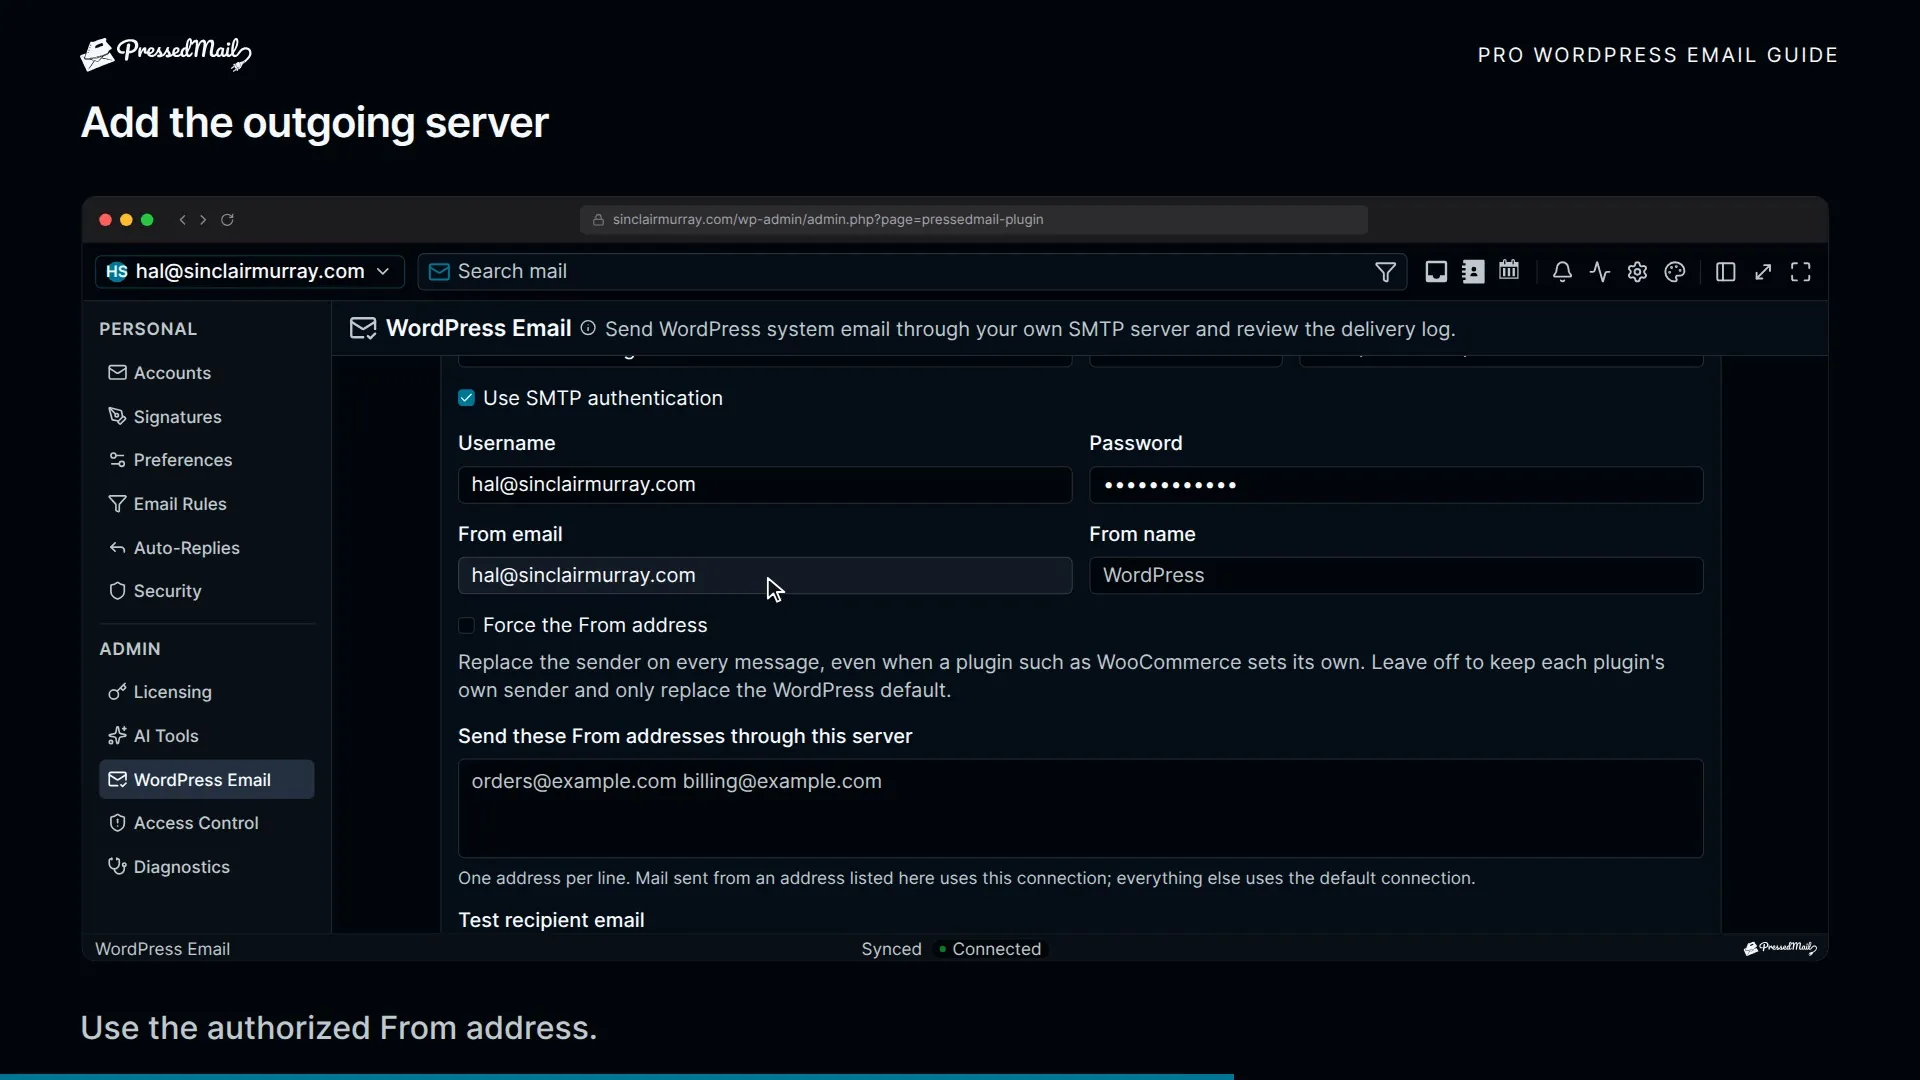
In Free, the outgoing-server panel provides Add mail server. Enter the provider's SMTP host, port and connection security. Enable SMTP authentication when the provider requires it and supply the supported username and credential.
The connection-security options distinguish SSL and TLS through STARTTLS. Use the option documented for the selected port. Do not choose an unencrypted connection as a general workaround for a failed secure connection.
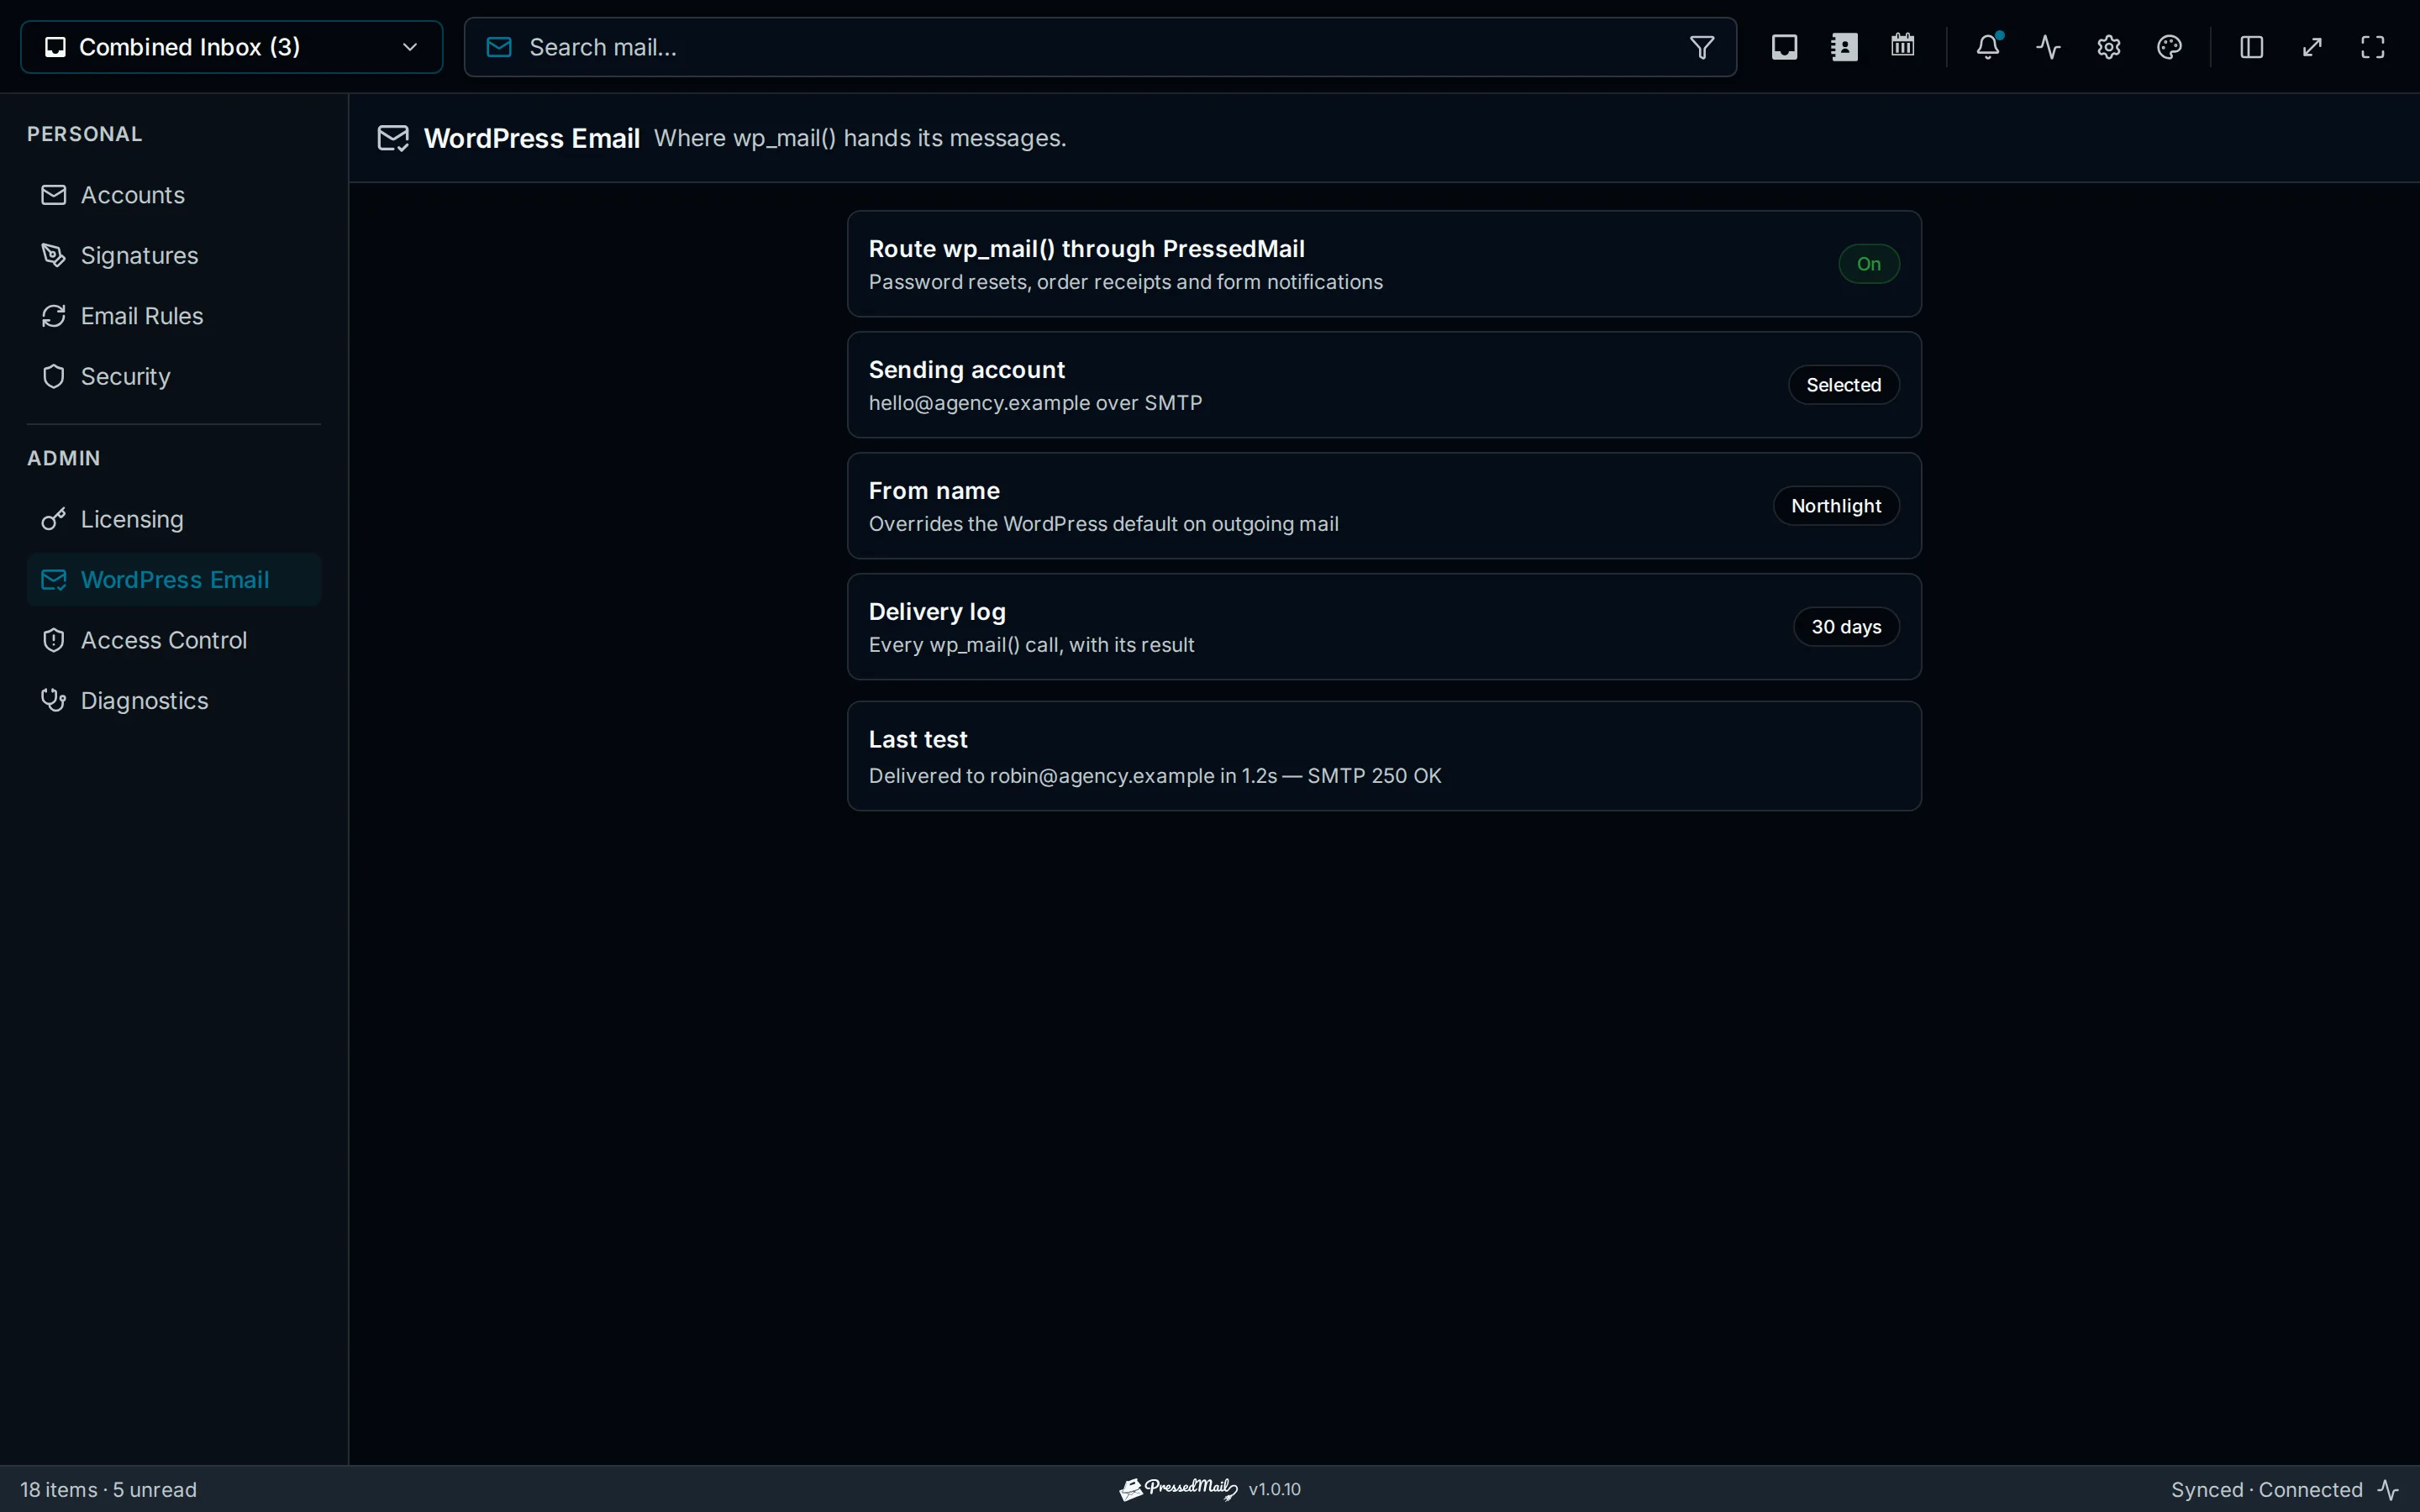
Illustration of WordPress email routing. Its controls, retention values and results are explanatory examples, not a current screenshot or completed delivery test.
Save the server configuration, then confirm that it is enabled for WordPress sending. The interface can retain settings separately from whether the runtime uses them, so saving a hostname alone is not the whole setup.
Free supports one outgoing server. Pro adds multiple servers and sender-based routing. Automatic fallback is not part of the current sending behavior.
Set the sender deliberately
Choose the From name and address that recipients should recognize and the provider authorizes.
A form's visitor address usually belongs in Reply-To, not in From. That allows the site to send as itself while directing your reply to the visitor. The contact-form SMTP guide walks through that distinction.
PressedMail's Force From behavior determines whether the configured sender replaces a sender deliberately supplied by another plugin. Without a forced override, an explicit sender can remain in place; a generated WordPress default can be replaced by the configured identity.
That makes the real notification test necessary. A generic test and a form email may supply different senders. Check the received message rather than assuming every plugin produces the same headers.
Do not enable a blanket sender override without considering order notifications, forms and other messages whose From identity matters to the site's workflow.
Send a plain test email
Use the server's test-send controls with an external address you control. Keep the first message plain and easy to identify.
The test submits a real email. Its success result describes sending through the configured route, not a recipient opening it. Read any error and retain its category before changing settings.
Then inspect the external mailbox. Check Inbox and Spam, and compare the subject and time so you know you found the correct attempt.
If a connection fails, check the destination and host access. If authentication fails, verify the credential method. If the server rejects the sender, review the allowed From identity. Changing all three at once makes the outcome less useful.
The SMTP testing article provides a repeatable record for these checks.
Test the notification that matters
After the generic message arrives, trigger a safe example of the actual site email.
For a contact form, submit fictional data to a controlled recipient. For a shop, use an approved test-order flow. For a password reset, use a test account you control and keep its reset link private.
Observe the originating application, the mail log and the recipient mailbox. A form success notice proves something about the submission flow; it does not by itself prove that the mail was delivered.
If the generic test works but this message fails, compare recipient, sender and trigger conditions before replacing the SMTP server. Checking whether WordPress mail was sent explains how to interpret the available evidence.
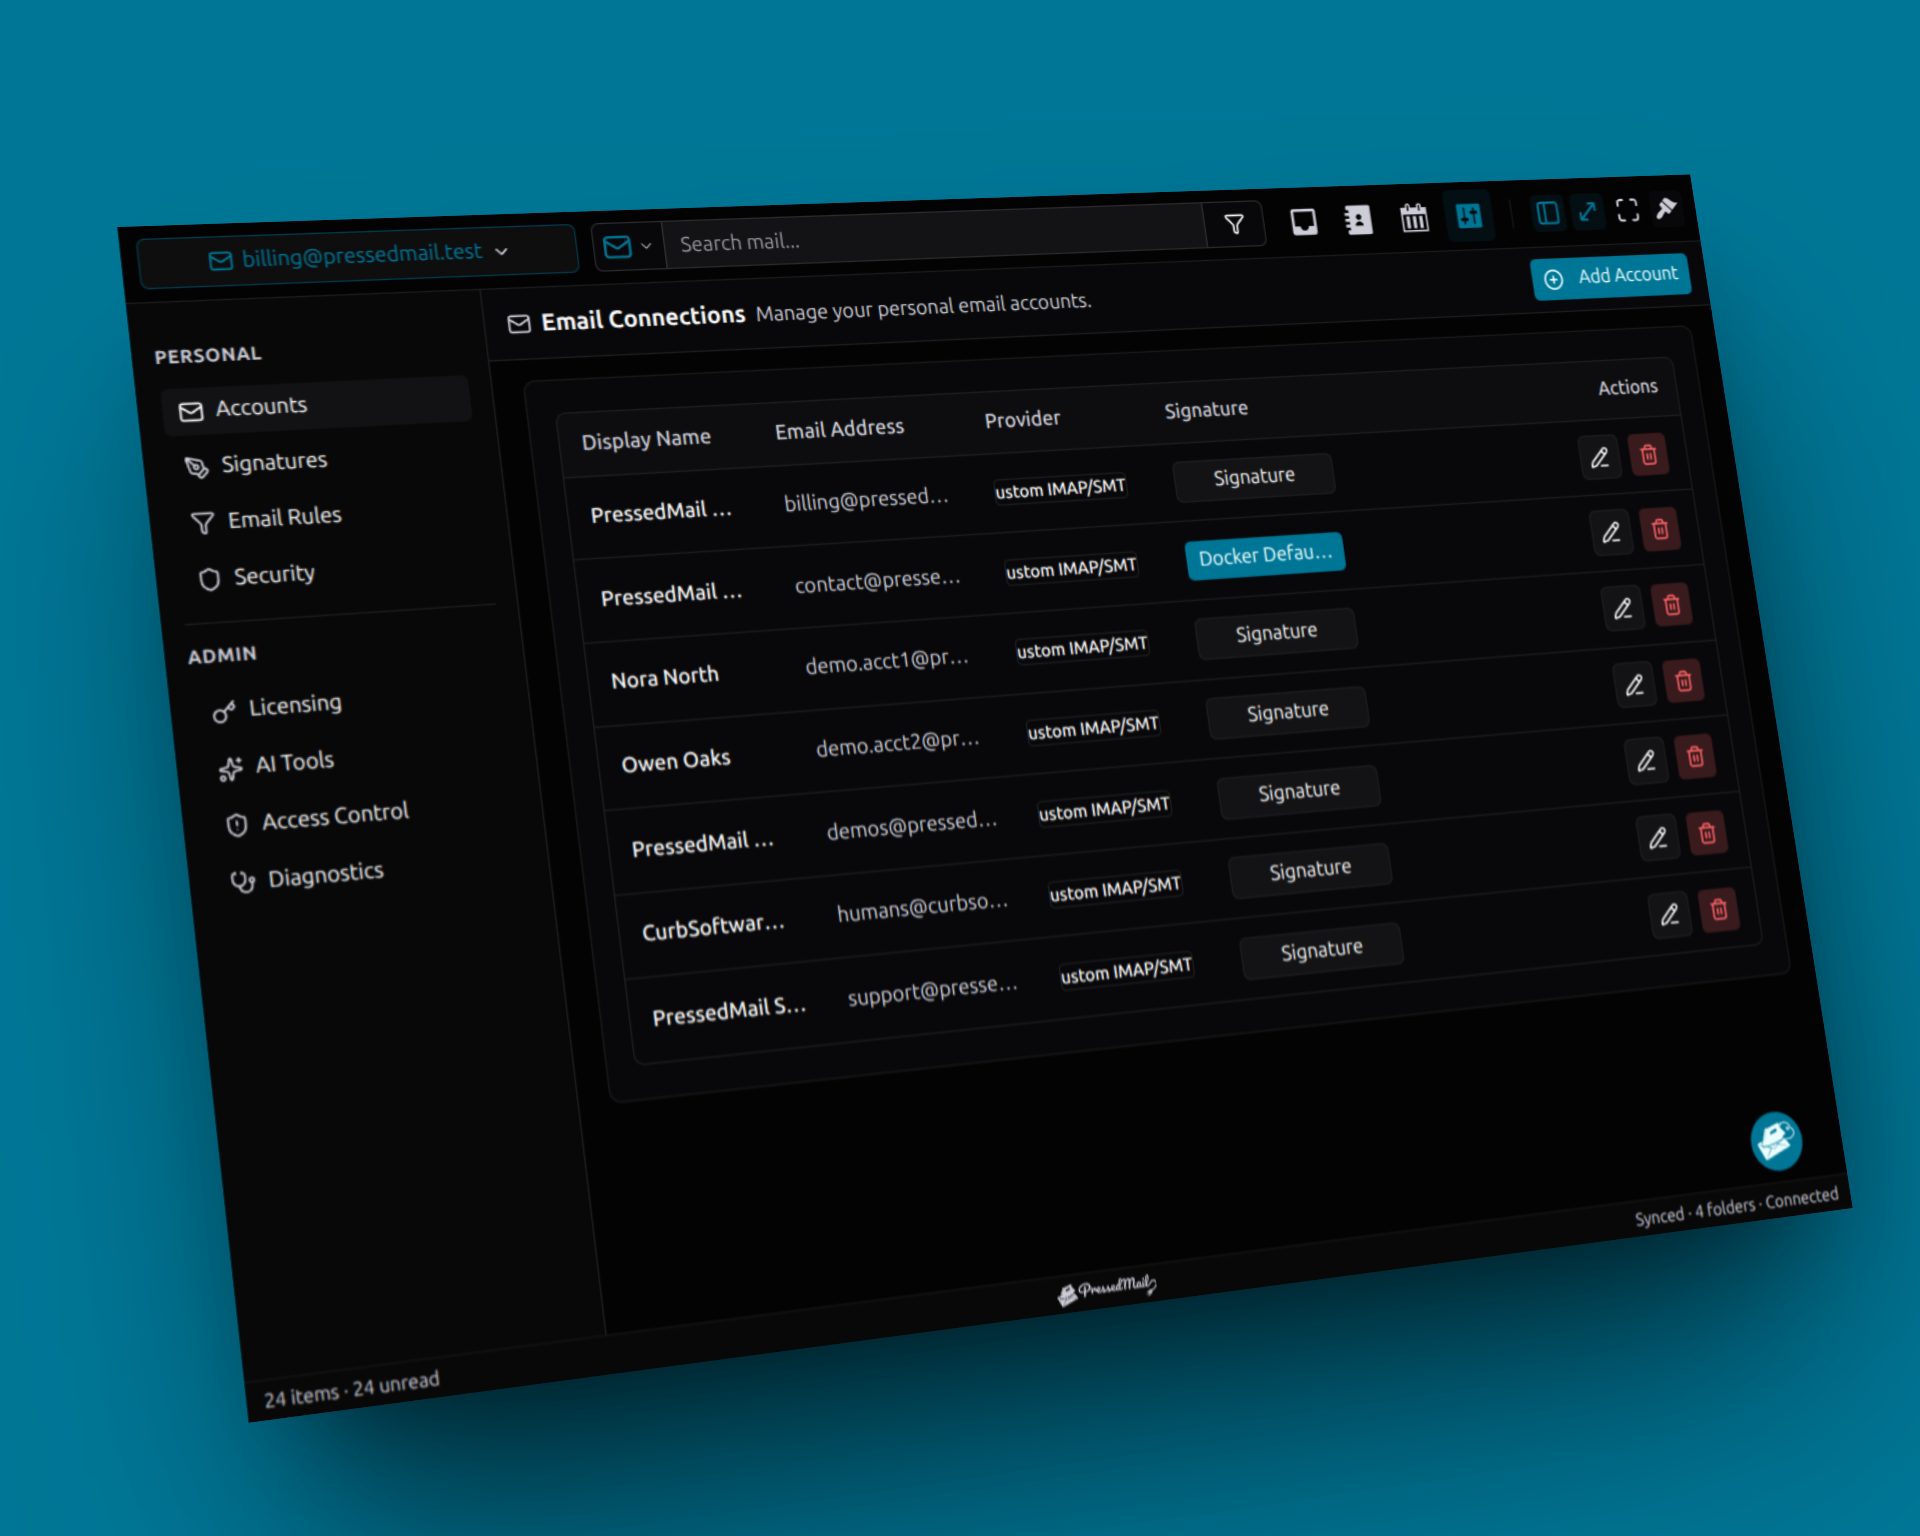
Screenshot composite of fictional mailbox connections. The site-wide SMTP server is configured separately from these inbox accounts.
Keep useful records
PressedMail's WordPress mail log stores metadata such as a limited recipient summary, subject, connection information and outcome. It does not archive message bodies, raw headers or attachments.
Choose a retention period appropriate to the site's support needs. Current choices are off, 30, 60 or 90 days. Off stops new logging, and the retention cleanup also clears existing records when logging is off. Preserve needed evidence before choosing it.
The logging guide explains the fields and their limits. Metadata can still include personal information, so share only the portion needed for a support request.
If you must restore the previous route after a failed change, restore its recorded settings and test it again. Do not assume that disabling one plugin automatically recreates a formerly working provider configuration.
Frequently asked questions
Does connecting an inbox enable WordPress SMTP?
No. PressedMail's site-wide outgoing server is configured separately in administrator settings.
Do I need Pro for one server?
No. Free includes the one-server WordPress sending workflow and metadata logging.
Should another SMTP plugin remain active?
Avoid competing owners of the same WordPress mail route. Document the intended configuration and verify which system handles the actual notification.
Does a successful test guarantee Inbox placement?
No. It reports sending evidence. Check the receiving mailbox, and investigate filtering separately if the message lands in Spam.
Will this affect messages sent through another service's API?
Only when that integration uses the configured WordPress mail path. An independent API sender may bypass these settings.
Manage your email inside WordPress
PressedMail Free adds an email client directly to your WordPress dashboard. Connect a compatible IMAP/SMTP mailbox, read and send mail, organize messages, and configure WordPress SMTP.