Mailgun’s SMTP credentials belong to a domain, not to your account. Get that one fact right and the rest of the setup is short. This guide connects Mailgun to PressedMail’s WordPress Email settings, so WordPress’s own notifications leave through Mailgun instead of PHP mail.
It covers WordPress’s mail, not your inbox. Reading and writing your own mail is a separate job with a separate connection.
What you need
- A Mailgun account with a sending domain added to it.
- SMTP credentials for that domain.
- PressedMail with a WordPress Email SMTP slot. Free has one. Paid builds have several.
Find the SMTP credentials
Mailgun’s SMTP page says the credentials are set and managed per domain. In the Mailgun dashboard, go to Sending, then Domain Settings, pick your domain from the menu, and open the SMTP Credentials tab. You can also manage them through Mailgun’s HTTP API.
Each domain has its own user name and password. If you send from two domains, you have two sets. Do not mix them: a password made for one domain will not authenticate for another.
The settings
| Field | Value |
|---|---|
| SMTP host | smtp.mailgun.org |
| Port | 587 |
| Connection security | TLS (STARTTLS) |
| Username | The domain’s SMTP user name |
| Password | The domain’s SMTP password |
Mailgun’s servers listen on ports 25, 465, 587 and 2525. Port 465 requires a TLS connection from the start, which is PressedMail’s SSL option. Ports 25, 587 and 2525 start unencrypted and can be upgraded with STARTTLS, which is the TLS (STARTTLS) option. Mailgun explains that it offers several ports because some ISPs block or throttle certain ones, and it recommends port 587.
If your host blocks 587, try 2525 with the same STARTTLS setting before you assume the credentials are wrong.
Add it in PressedMail
Open PressedMail, then Settings, then WordPress Email, then SMTP Accounts. On Free, the tab is Mail servers and the button reads Add mail server. Choose Add SMTP account.
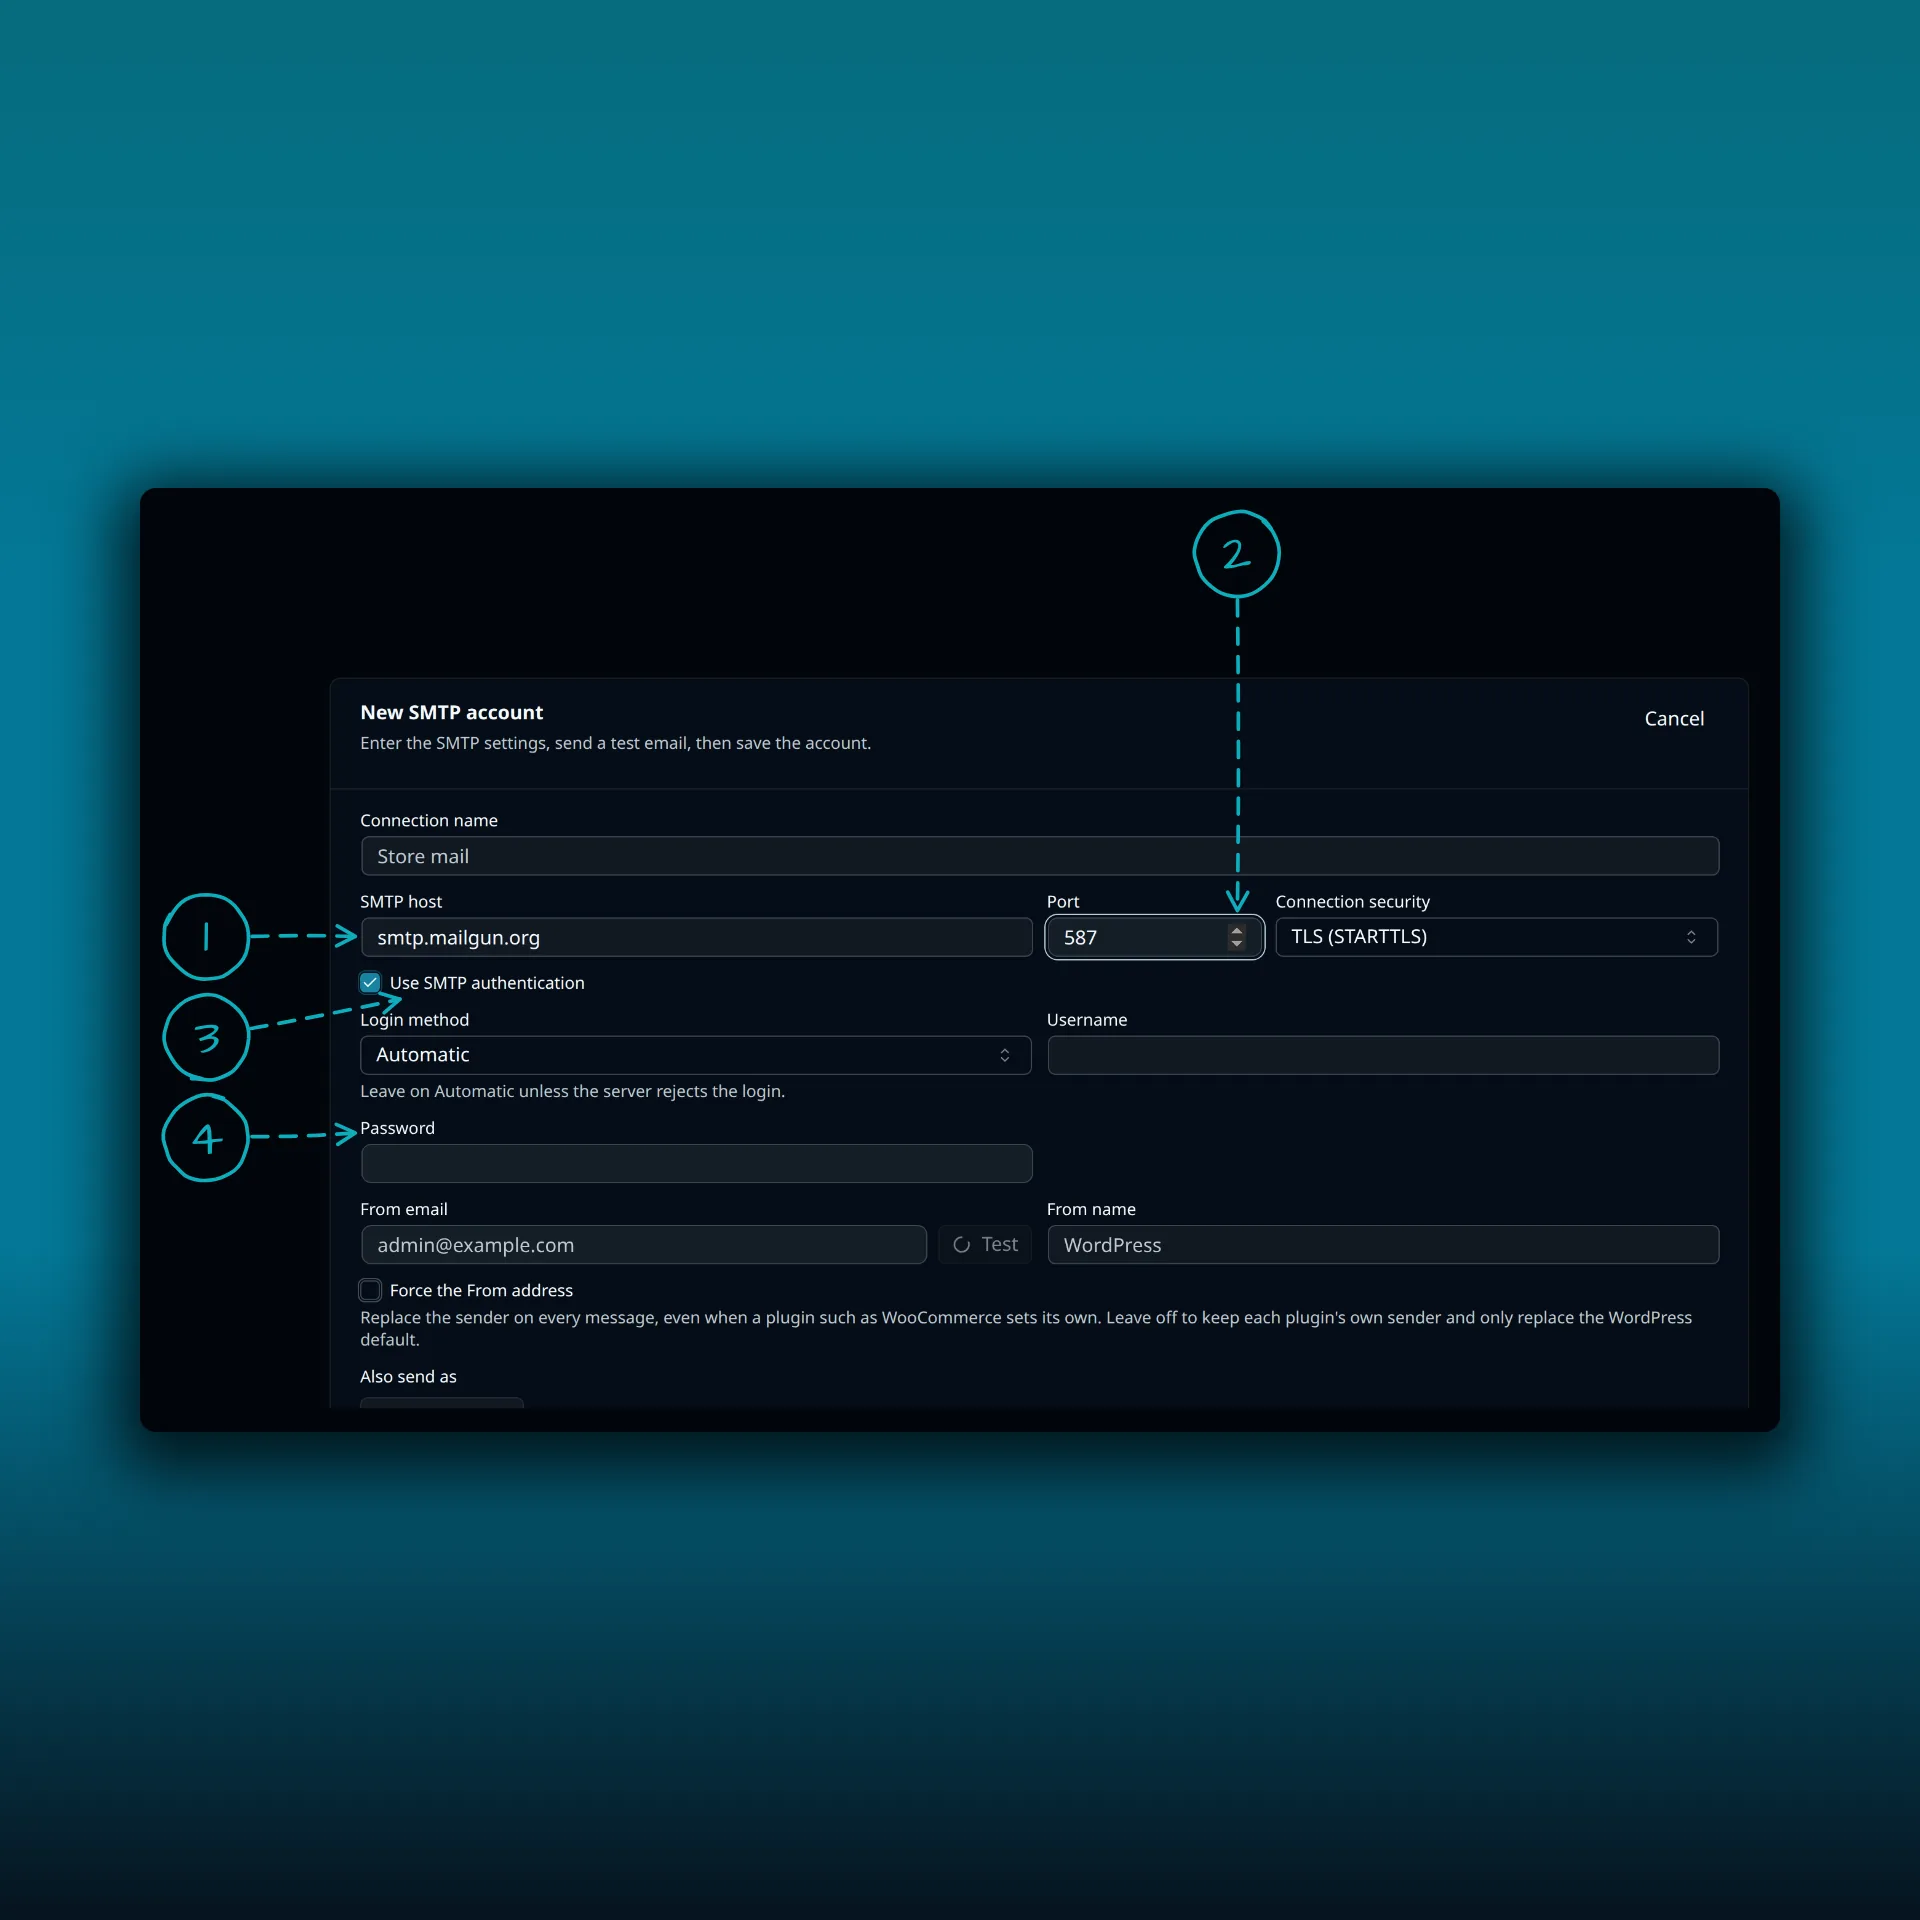
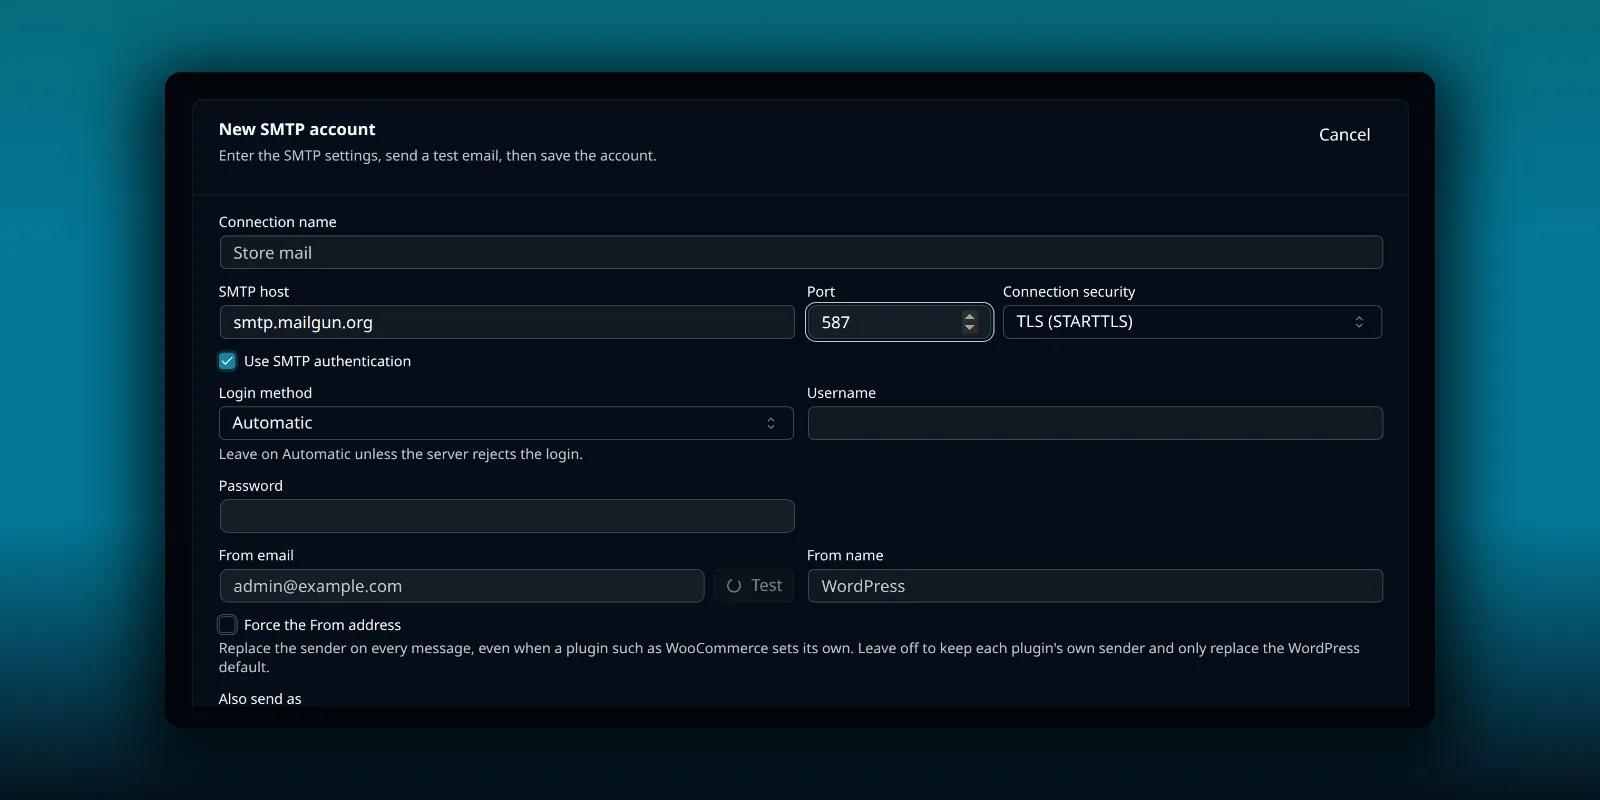
- SMTP host. smtp.mailgun.org.
- Port and connection security. 587 with TLS (STARTTLS).
- Use SMTP authentication. Leave it on.
- Username and password. The domain’s SMTP credentials.
The picture shows a typed host and port from Mailgun’s documentation and nothing saved.
Then set the From email to an address at the domain you added to Mailgun.
Match the sender to the domain
Mailgun’s credentials are per domain, so the From address should sit at that domain. A message from an address at a different domain is a mismatch your provider and the receiver may both object to. If WordPress or a plugin sets another sender, turn on Force the From address on the PressedMail form, which replaces the sender on every message with the one you set. Keep a contact form visitor’s address in Reply-To, because forcing the From would otherwise hide it.
If you run more than one domain, a paid PressedMail build can hold several SMTP accounts and pick the right one from the sender address. The routing guide explains how an account claims an address.
Switch WordPress over to it
Adding the account does not move WordPress’s mail by itself. On a paid build, open the Default SMTP tab and choose PressedMail SMTP.
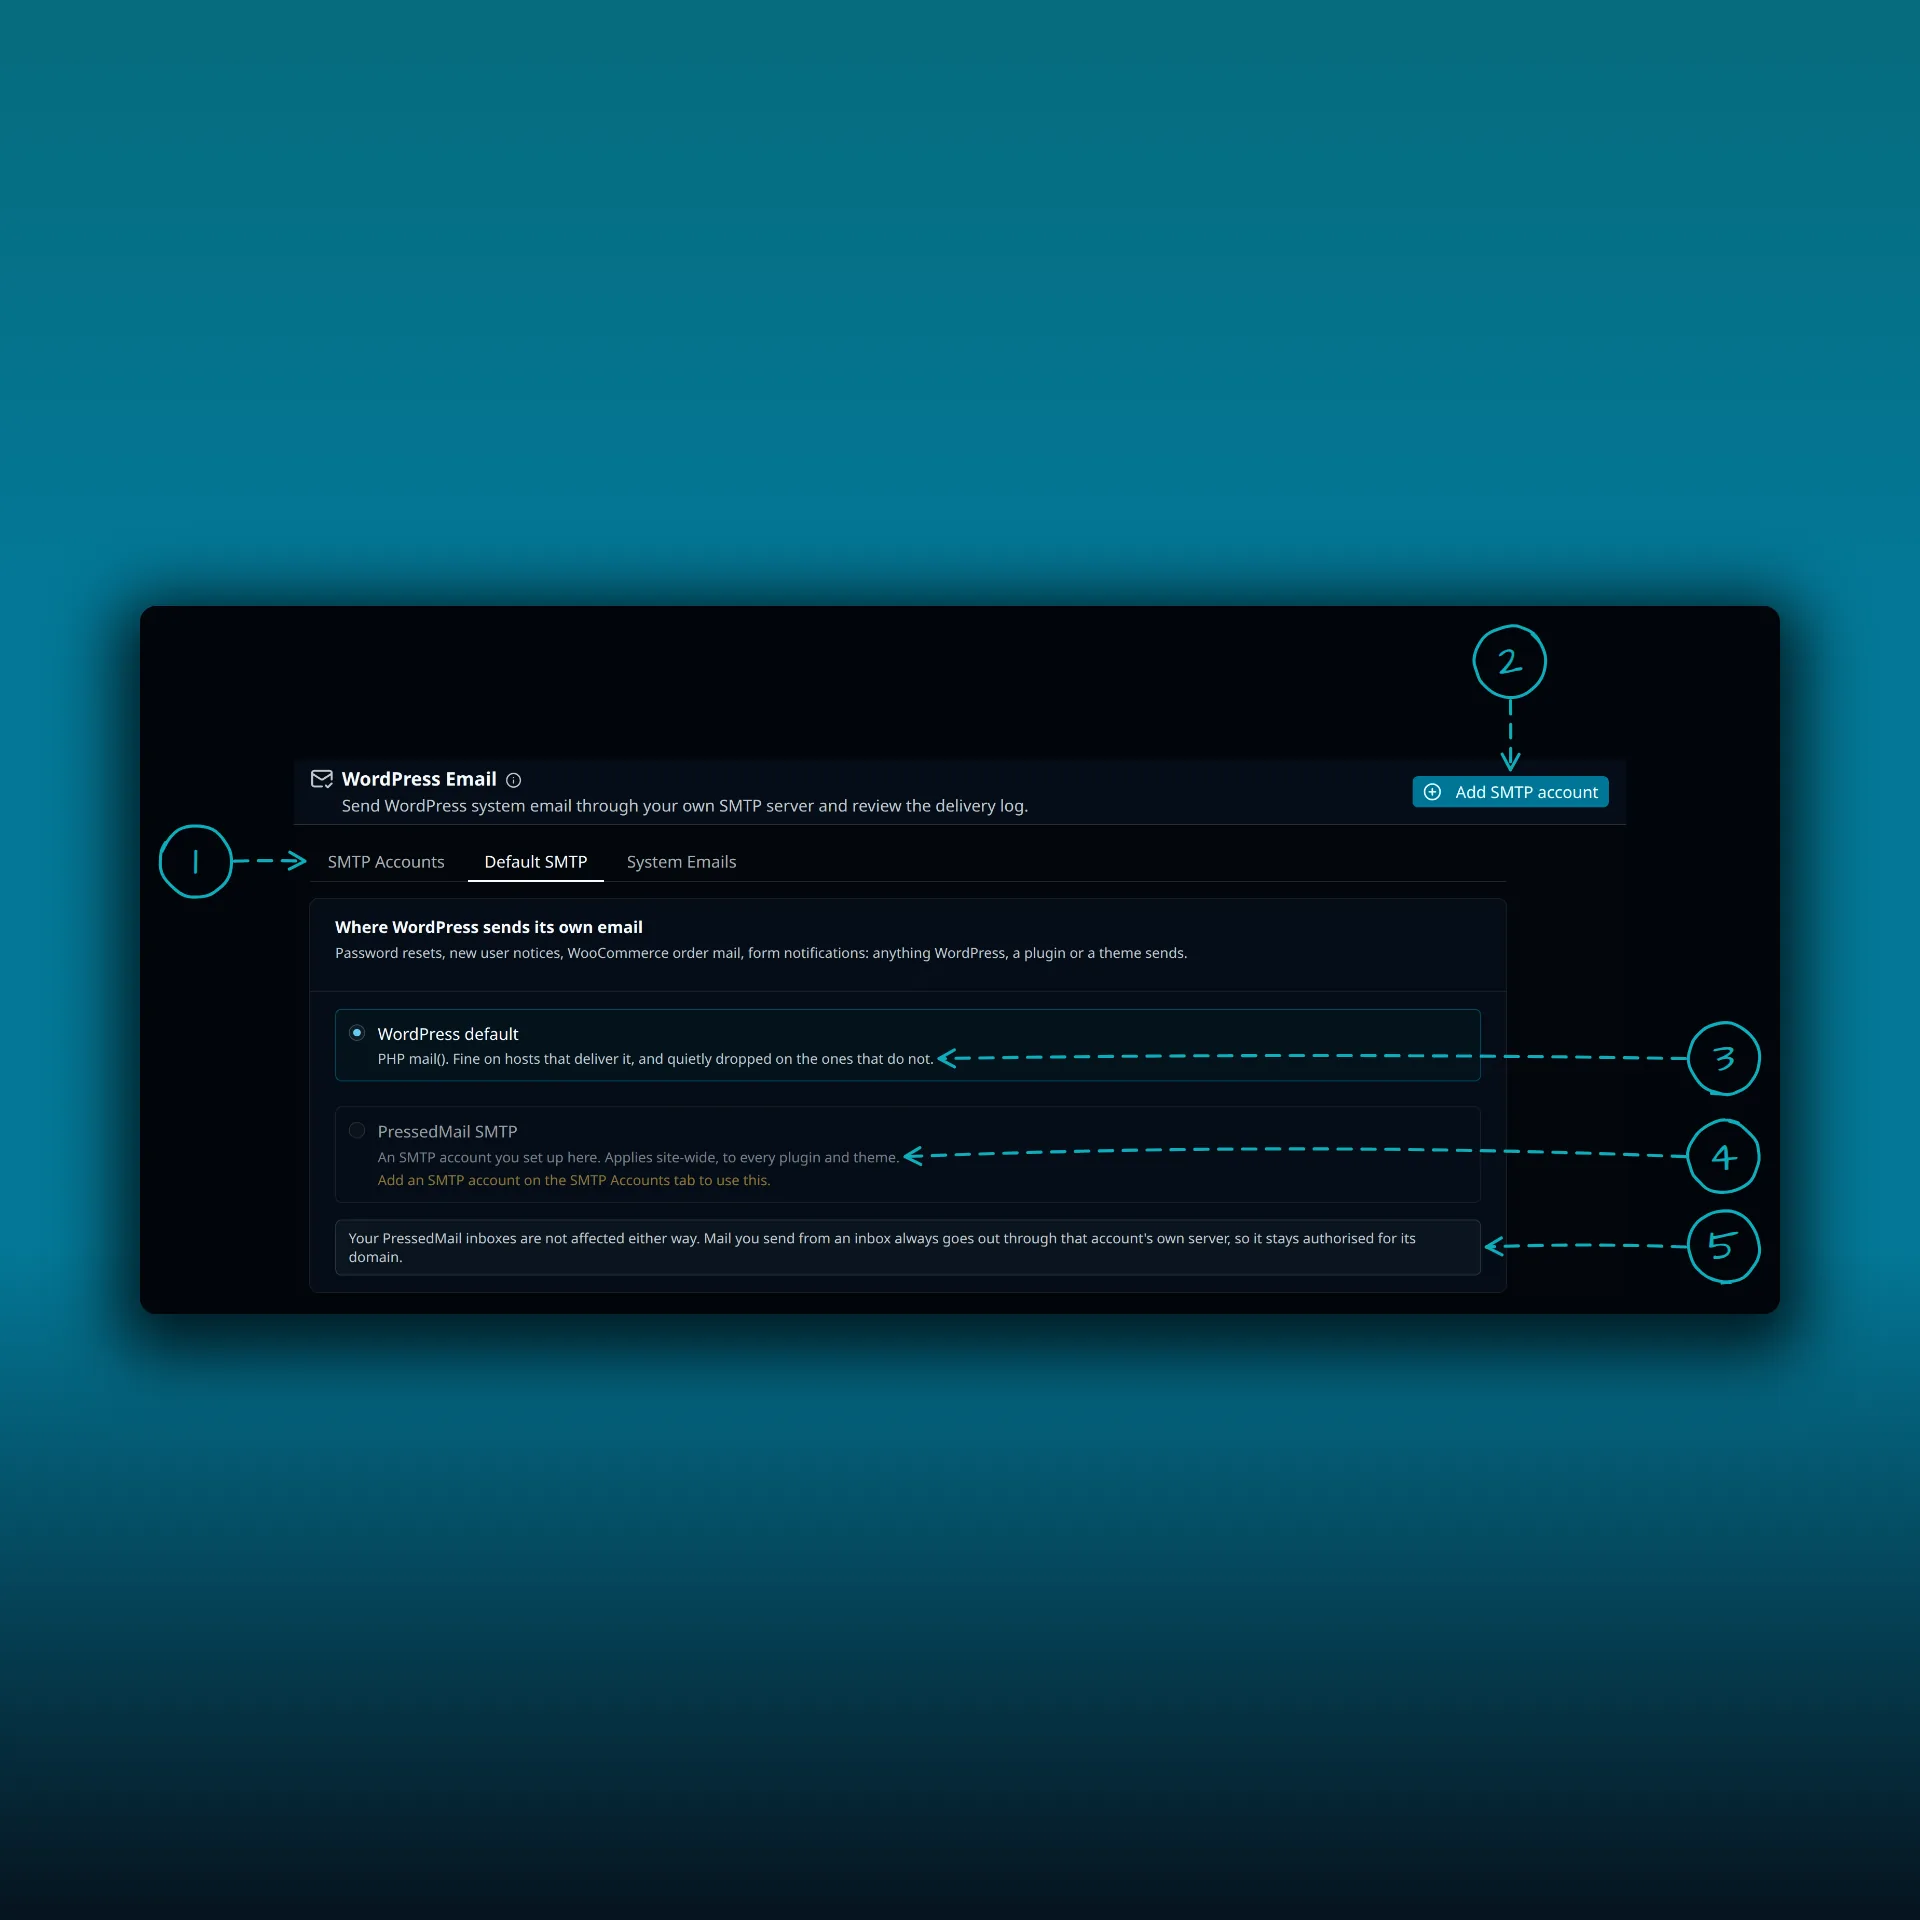
- The tabs. Paid builds show SMTP Accounts, Default SMTP and System Emails. Free shows System Emails and Mail servers.
- Add SMTP account. The Free button reads Add mail server.
- WordPress default. PHP mail().
- PressedMail SMTP. Sends what WordPress, a plugin or a theme sends through the server you set up here. It stays unavailable until you add one.
- A note that your PressedMail inboxes are not affected either way.
The picture is from a paid build.
Test it
Press Send Test Email on the form with an address you control, then trigger a real WordPress message such as a password reset. Check the recipient mailbox, including spam. Acceptance by Mailgun does not mean the message reached the inbox, and the SMTP test guide shows how to keep those checks apart.
If PressedMail’s delivery log shows the message went through your Mailgun account and the recipient still sees nothing, look at sender authorization before you change the server settings. The guide to stopping WordPress email going to spam covers it, and the delivery log guide shows what the log records.
If it does not connect
- Wrong domain credentials. Check that you copied the SMTP credentials from the same domain you send as.
- A blocked port. Switch from 587 to 2525, or from 25 to 587.
- The wrong security setting. 465 needs SSL. The others need TLS (STARTTLS).
- An address Mailgun cannot parse. Mailgun’s page says SMTP sends fail with a parse error when an address fails syntax checks, so look for stray spaces or a display name in the From email field.
- IP allow lists. Mailgun warns that the IP addresses behind its endpoints change often, so do not lock your firewall to them.
The troubleshooting guide covers the case where the connection test passes and sending still fails.
Common questions
Which port does Mailgun recommend?
- It offers 25, 465, 587 and 2525, and says some ISPs block or throttle certain ones.
Where do I find my SMTP password?
In Sending, then Domain Settings, under the SMTP Credentials tab for your domain.
Can one set of credentials work for every domain?
No. SMTP credentials are managed per domain.
Does this send mail from my inbox?
No. This is WordPress’s own mail. Your PressedMail inbox mail goes through the mailbox you connect.
Do I need a paid PressedMail plan?
Free supports one WordPress SMTP server, which is enough for one Mailgun domain. Several servers and sender routing are paid features.
Manage your email inside WordPress
PressedMail Free adds an email client directly to your WordPress dashboard. Connect a compatible IMAP/SMTP mailbox, read and send mail, organize messages, and configure WordPress SMTP.