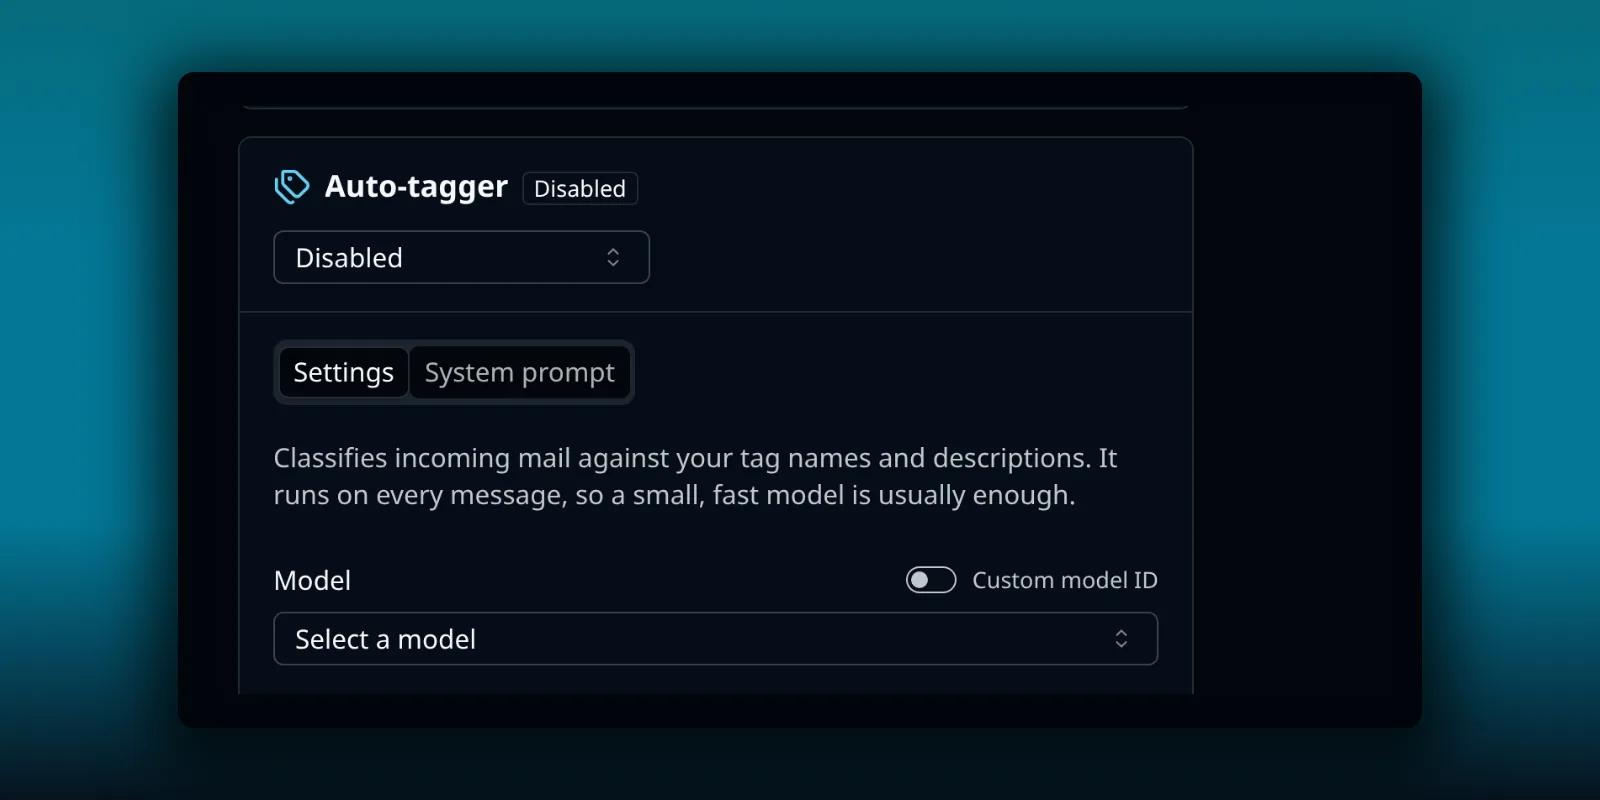
Tagging mail by hand is slow. AI auto-tagging reads a new message, compares it with your tag names and descriptions, and applies the tags that fit.
It is a paid feature, it is optional, and it sends message content to an AI service. This guide explains how it works, what you set up, what it sends and what it costs, so you can decide whether to switch it on.
What it does
When the tool is on, new mail goes into a background queue. For each message, an AI model reads the subject, the sender, the body and the list of tags you marked for AI use. It scores each tag. Any tag it is confident enough about gets applied.
The tags are PressedMail’s own. They live in your site and do not appear as labels in Gmail or in another email client. The post on tags and folders explains that difference.
Free does not send mailbox content to any AI service. Auto-tagging needs a paid plan.
Turn the tool on
An administrator does this once for the site.
- Open Settings and choose AI Tools in the Admin group.
- On the Features tab, find the Auto-tagger card. It reads “Classifies incoming mail against your tag names and descriptions.”
- Use the menu on the card to choose how it runs: Disabled, PressedMail AI, or your AI provider.
- If you chose your own provider, set it up on the AI provider card first, then switch on Enable AI features.
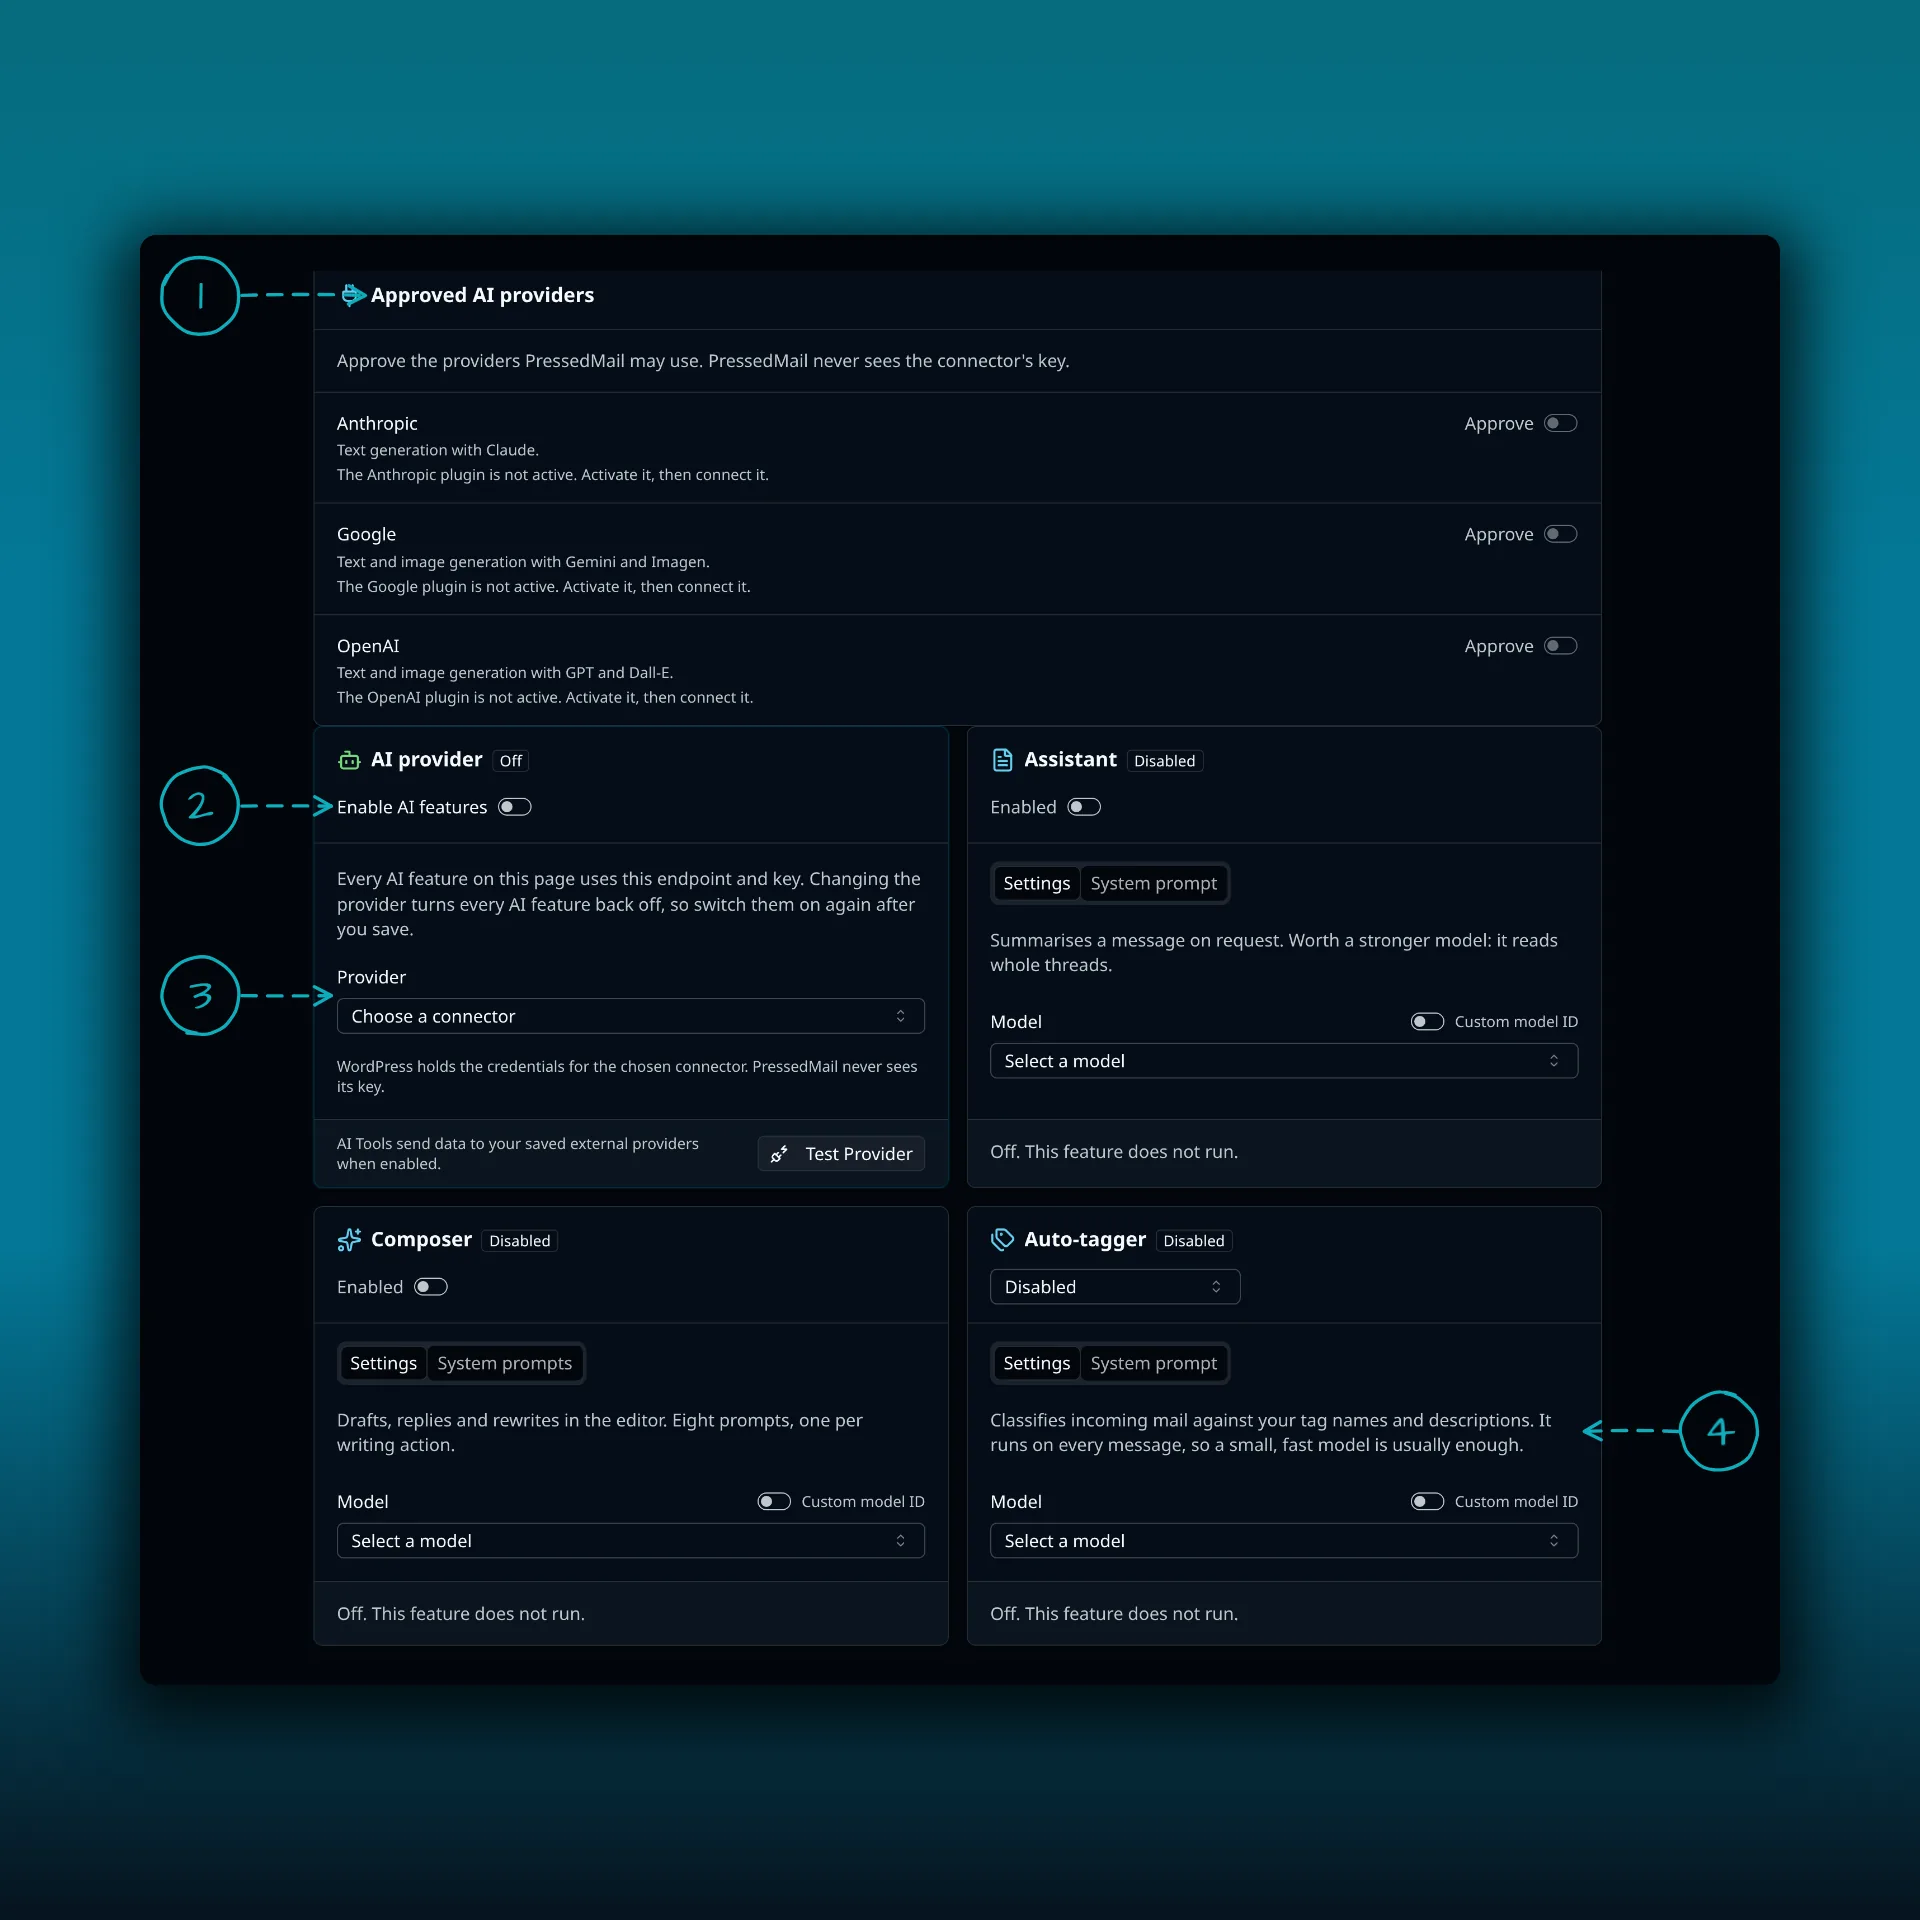
- Approved AI providers. Each provider you want PressedMail to use needs approving here.
- Enable AI features. This switch turns the AI tools on for the site.
- The Provider menu, where you choose a connector. Test Provider sits at the foot of the same card.
- The Auto-tagger card. The menu under its name sets how it runs, and the text says what it does.
PressedMail AI and your own provider differ in who runs the model. With PressedMail AI there is no account to create and no model to pick, and each tagged email costs credits. With your own provider, WordPress holds the credentials. The provider’s WordPress plugin has to be active and connected under Settings > Connectors, and then you approve it here. The card says PressedMail never sees the key. Read the provider’s data terms before you send it mail, for example OpenAI’s page on how it handles your data.
Each card ends with a line that says what it is doing. “Off. This feature does not run.” means the menu is on Disabled. “Runs on PressedMail AI.” and “Runs on your AI provider.” say which engine is active. “Not running yet. Set up the AI provider first.” means you chose your own provider and have not finished its card.
The user-facing controls below appear only when the tool is on and an engine is set up. If you cannot find them, the tool is not on yet.
Teach it your tags
The AI works from your tags, so the tags need to say what they are for.
- Open the editor for a tag, either a new one or an existing one.
- Give the tag a name.
- Write a description that works as an instruction.
- Switch on AI auto-tagging for that tag.
- Set Confidence.
The AI controls appear in the tag editor only when the Auto-tagger is on and an engine is set up. The help text under the switch reads: “When on, the AI applies this tag during auto-tagging, using the description above as its instruction.” Confidence takes a whole number from 1 to 99 and is shown as a percentage.
Write descriptions that discriminate
A description like “Invoices” is too thin. Try “A bill or payment request from a supplier or service. Not an order confirmation.” One or two sentences that say what belongs and what does not work better than a long list. Read your first results and change the wording where the AI is wrong.
Choose a confidence level
Confidence is how sure the AI must be before it adds the tag on its own. The default is 70 percent. Raise it for a tag where a wrong match is annoying, such as Invoice. Lower it for a loose tag where catching more is worth a few misses. Each tag is scored separately, so one strict tag does not hold back the others.
One tag or several
In your personal preferences, Allow multiple tags decides what happens when a message fits more than one tag. On applies all of them. Off applies only the best match. Pick off if you want each message to land in a single bucket.
Run it on mail you already have
Auto-tagging works on new mail. For older mail, run it by hand. In the reading pane, open the tag menu and choose Auto-tag with AI. The bulk action bar has the same action for a selection. On Pro, Email Sweep can run tags, saved rules and the AI checks over a whole folder.
Read what came back. A manual run is the best test of your descriptions, because you can see the whole result at once.
Use tags in rules
On Pro, an email rule can start after the auto-tagger sorts a message, and it can test for the tag. So one pass tags a message and a second rule files it. Free rules cannot read AI tags. If a rule seems to do nothing, the rules troubleshooting post lists the usual causes.
What it sends
Auto-tagging sends the subject, the sender’s name and address, the message body and your tag names and descriptions. It does not send attachment contents. With PressedMail AI, quoted replies and signatures are left out before the text leaves your site.
Requests go from your WordPress server to the AI service you chose. Provider terms, retention and training settings are the site owner’s responsibility. If you handle confidential mail, read them first. Turning the tool off stops future requests. It does not erase anything a provider already holds.
Credits and the queue
On PressedMail AI, tagging costs one credit per email. Running it again on the same email costs again. Credits do not expire, and paid plans include some.
A silent animation of how AI credits are spent, about 15 seconds. Auto-tagging costs 1 credit per email. The spam and phishing checks on one email share 1 credit, so all three on one email cost 2. Running one again costs another credit.
A run takes up to five queued items, with a separate call for each message. If credits run out, tagging pauses. Nothing breaks and nothing is lost. New mail waits in the queue, and a notice explains why. Once credits are added, work resumes within the hour.
On a team, one shared balance can be used up by one busy inbox. The Team credits tab in AI Tools lets an administrator set a monthly limit for each person. Mail that arrives after someone hits their limit skips tagging until the next month or until the limit is raised. It is not picked up later on its own, so run the tag by hand on anything that matters.
Which plan do I need?
Auto-tagging needs a paid plan. The plan comparison lists what each plan includes.
Frequently asked questions
Does auto-tagging move my mail?
No. It applies tags. It does not move messages or change folders on your mail provider. Use a rule if you want mail filed by tag.
Will other email apps show the tags?
No. They belong to PressedMail on your site.
Can I use it without my own API key?
Yes. PressedMail AI runs the model for you and spends credits.
Why was a message not tagged?
The tool may be off, the message may be waiting in the queue, credits may have run out, or no tag reached its confidence level. Run Auto-tag with AI by hand to see which.
Does it read my attachments?
No. Attachment contents are not sent.
Manage your email inside WordPress
PressedMail Free adds an email client directly to your WordPress dashboard. Connect a compatible IMAP/SMTP mailbox, read and send mail, organize messages, and configure WordPress SMTP.